The used car due diligence checklist that protects you
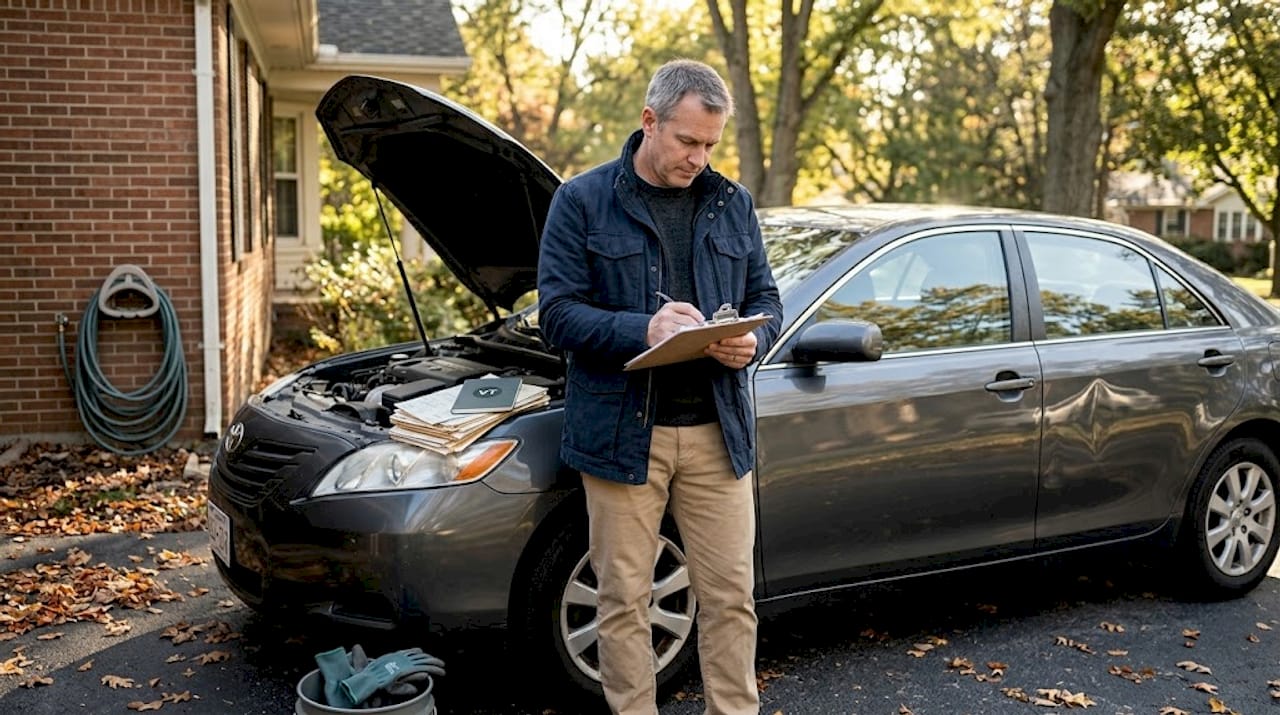
Check a vehicle before you buy
Enter a VIN for a free instant preview — accidents, title brands, mileage, liens & open recalls.
TL;DR:
- Conduct a structured due diligence process including VIN verification, recall checks, history reports, inspection, test drive, and professional inspection.
- Verifying VIN and title details early prevents purchase of stolen or flood-damaged vehicles with title issues.
- Combining multiple checks and a professional inspection reduces the risk of costly surprises and unsafe vehicles.
Buying a used car without a structured plan is one of the most expensive gambles you can make. Sellers rarely volunteer bad news, and a shiny exterior can hide a flood-damaged frame, a rolled-back odometer, or an unresolved safety recall. A high-leverage due diligence sequence starts with confirming VIN and title consistency, then moves through recall checks, vehicle history reports, a physical inspection, a test drive, and finally a professional pre-purchase inspection before you sign anything. Follow these five steps in order, and you turn a stressful process into a confident, informed decision.
Table of Contents
- Step 1: Verify VIN and title details
- Step 2: Check for recalls and safety campaigns
- Step 3: Obtain and decode the vehicle history report
- Step 4: Perform a detailed self-inspection and test drive
- Step 5: Schedule a professional pre-purchase inspection
- Why most buyers cut corners—and what actually protects you
- Accelerate due diligence with Vektracer
- Frequently asked questions
Key Takeaways
| Point | Details |
|---|---|
| Always confirm the VIN first | A mismatched or altered VIN is a red flag for theft or title fraud. |
| Check for ongoing recalls | Unrepaired recalls are both a safety risk and a potential negotiation lever. |
| History reports are essential but not enough | Even clean reports can miss critical incidents—verify with a mechanic. |
| Inspect and test drive thoroughly | Your own systematic review often reveals issues others miss. |
| Invest in a pro inspection | A $150 mechanic check can prevent purchasing a costly lemon. |
Step 1: Verify VIN and title details
The Vehicle Identification Number, or VIN, is the fingerprint of any car. It is a unique 17-character code stamped onto the vehicle in multiple locations, and every piece of official paperwork should match it exactly. Getting this right before anything else is non-negotiable.
Where to find the VIN:
- Dashboard, visible through the windshield on the driver’s side
- Driver’s side door jamb sticker
- Engine block
- Title document and registration paperwork
Once you have the VIN, verify it and check open recalls before you spend another dollar or hour on this vehicle. Mismatched VINs are a serious red flag. They can indicate a “cloned” car, where a stolen vehicle is given the identity of a legitimately registered one.
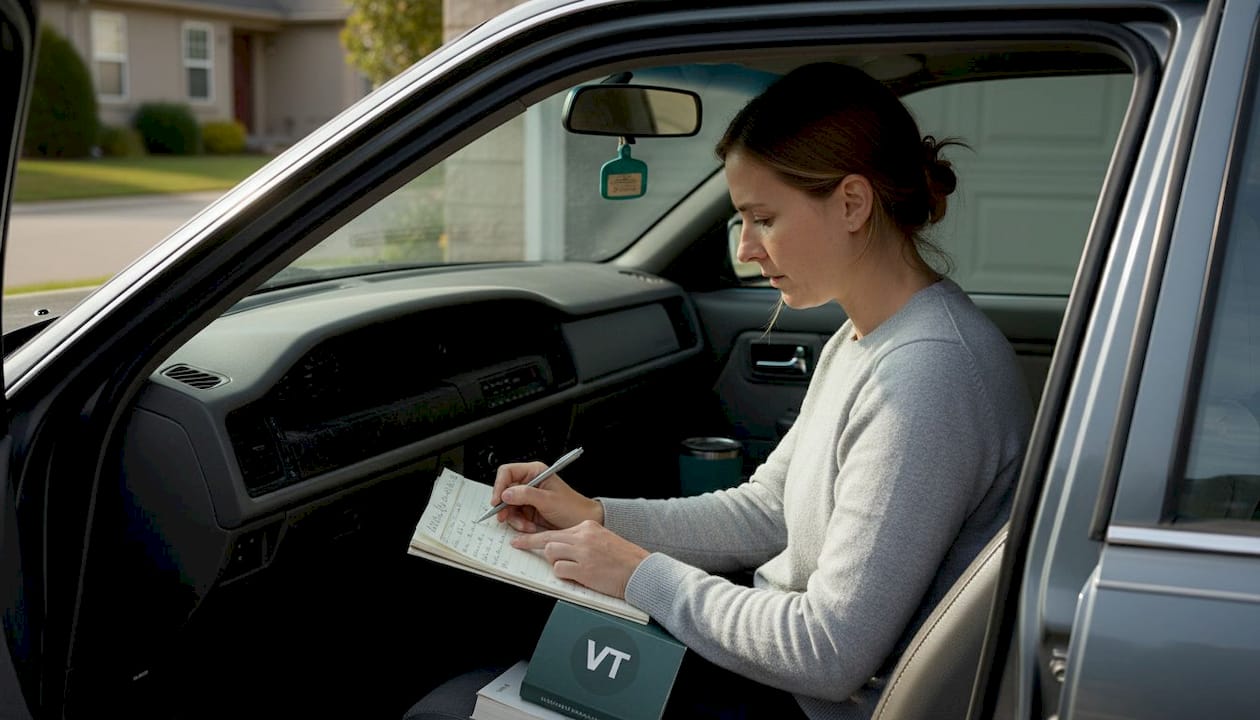
Title brands you need to know:
Title brands are official designations stamped onto a vehicle’s title by a state agency. They tell you what has happened to the car in its lifetime. Here are the most important ones:
- Clean title: No major damage or issues on record. This is what you want.
- Salvage title: The car was declared a total loss by an insurance company, typically after a serious accident, flood, or theft recovery.
- Rebuilt or reconstructed title: A salvage vehicle was repaired and passed a state inspection to be road-legal again. Resale value is significantly lower.
- Flood title: The car sustained water damage, often causing long-term electrical and mechanical problems.
- Lemon law buyback: The manufacturer repurchased the vehicle due to persistent defects under state lemon laws.
Understanding checking vehicle title status early in the process can save you from purchasing a car with a compromised history that the seller never mentioned.
What to do if you spot discrepancies:
If the VIN on the car does not match the title, or if the title brand does not align with what the seller claims, walk away. Seriously. No deal is worth the legal and financial risk of purchasing a vehicle with title fraud. At minimum, demand a full explanation and independent verification before proceeding.
Pro Tip: Check the VIN in at least three physical locations on the car. If any of them look tampered with, scratched over, or replaced, treat it as a major warning sign and do not proceed.
Step 2: Check for recalls and safety campaigns
Once the vehicle’s identity checks out, your next job is to confirm there are no unresolved safety issues tied to that VIN. Recalls are manufacturer-issued notices that a specific part or system poses a safety risk. They are free to repair at any dealership that sells the brand, but only if the owner actually acts on them.
For US used-car due diligence, prioritize recalls and safety campaign checks early in the process. An open recall on a vehicle you are about to buy means you could be driving away with a known defect.
How to check for open recalls:
- Go to the NHTSA recall database at nhtsa.gov and enter the VIN
- The search returns any open recalls, the nature of the defect, and whether the repair has been completed
- You can also check checking for recalls as part of your broader history review
Why this step matters more than most buyers realize:
Recalls can involve critical safety systems. Takata airbag inflators, for example, affected tens of millions of vehicles across dozens of brands and caused fatal injuries when they ruptured. Brake system recalls, fuel system defects, and steering failures are also common. An unrepaired recall is not a minor inconvenience; it is a potential hazard every time you drive.
Here is the part that surprises most buyers: sellers can legally offload vehicles with unrepaired safety defects. Sellers may be allowed to sell vehicles with unrepaired safety defects, which means the burden falls entirely on you to check. Never assume a seller has addressed recalls, and never take their word for it without documentation.
What to ask for:
- Written confirmation from a dealership that the recall repair was completed
- A repair order showing the specific recall number, the date of service, and the parts replaced
- If the seller cannot provide this, insist the repair is completed before you purchase, or negotiate the cost into the deal
Pro Tip: Even if a seller shows you a repair order, cross-reference the recall number on the NHTSA website to confirm the repair status is listed as completed for that specific VIN.
Step 3: Obtain and decode the vehicle history report
After clearing recall status, the next logical check is a full look at the vehicle’s documented past. A vehicle history report pulls data from insurance companies, state DMV records, auction houses, and service centers to build a timeline of what happened to the car.
Vehicle history reports covering accidents, title, ownership, and service gaps are central to US due diligence. But knowing how to read one is just as important as getting one.
Where to get a report:
| Provider | Price | Key features |
|---|---|---|
| Carfax | $44.99 | Accident history, title brands, service records |
| AutoCheck | $24.99 | Auction data, score-based rating system |
| Vektracer | $19.99 | Accident history, title records, mileage verification, theft checks, recalls, market value |
For a deeper look at your options, vehicle history reports explained covers what each type of report includes and what to prioritize.
Critical data points to review in any report:
- Title brands: Confirm what you already checked in Step 1
- Number of owners: More owners in a short time can signal problems
- Odometer readings: Look for jumps backward or suspiciously low readings on older vehicles
- Accident and damage records: Note the severity, what was damaged, and whether it was repaired
- Service history gaps: Long stretches without any recorded maintenance can indicate neglect
- Use type: Was this a rental, fleet, or taxi vehicle? These often have higher wear
What reports often miss:
This is where many buyers make a critical mistake. They see a clean report and assume the car is problem-free. But history reports can miss unreported crashes, meaning accidents that were never filed with police or insurance companies simply do not appear. Private party fender-benders, cash-settled repairs, and off-road incidents leave no paper trail.
That is why a clean report is a good sign, not a guarantee. You still need the physical inspection and the professional check that follow. If you want to understand how to get a history report and interpret it correctly, reviewing a sample before you buy can help you know exactly what you are looking at.
Step 4: Perform a detailed self-inspection and test drive
With all your paperwork and digital records reviewed, it is time to use your own eyes and ears. A hands-on inspection checklist focusing on exterior, interior, under-hood, and on-road driving dramatically reduces the chance you miss serious problems. Always inspect in daylight and bring a flashlight for darker areas.
Exterior checklist:
- Look for uneven panel gaps, which suggest past collision repair
- Check paint color consistency across panels. Slight differences in shade often indicate a repainted section
- Inspect the roof, door sills, and wheel wells for rust
- Look under the car for frame damage, fluid stains, or patched welds
Interior checklist:
- Check all power windows, locks, mirrors, and seat adjustments
- Look for water stains, mold, or a musty smell (signs of flood damage)
- Test the air conditioning, heat, and all dashboard warning lights
- Inspect seat condition, headliner, and carpet for unusual wear
Under-hood checklist:
- Check all fluid levels: engine oil, coolant, brake fluid, power steering fluid
- Look for oil leaks around the engine block and valve cover
- Inspect belts and hoses for cracking or fraying
- Look for corrosion on battery terminals
Test drive checklist:
| Area | What to check |
|---|---|
| Steering | Pulls to one side, vibration, looseness |
| Brakes | Squealing, grinding, soft pedal feel |
| Transmission | Smooth shifts, no slipping or hesitation |
| Engine | Unusual noises, rough idle, smoke from exhaust |
| Suspension | Clunking over bumps, excessive body roll |
Pro Tip: Test the brakes at both low and highway speeds. A brake issue that only shows up at 60 mph can be invisible during a slow parking lot test drive.
For a full vehicle inspection checklist that covers every area in detail, reviewing one before your appointment helps you stay organized and avoid missing items under pressure.
Step 5: Schedule a professional pre-purchase inspection
No matter how thorough your own review, only a trained mechanic with diagnostic tools can catch what is invisible to the average buyer. This step is where many buyers balk because of the cost, but it is almost always worth it.
Crashes not reported to police might not show up on Carfax or AutoCheck, and Consumer Reports recommends a pre-purchase inspection regardless of how clean the report looks. That recommendation exists for good reason.
How to find a trustworthy mechanic for a pre-purchase inspection (PPI):
- Use a shop that has no connection to the seller or dealership
- Ask for an ASE-certified technician (Automotive Service Excellence)
- Search for local shops through AAA’s approved mechanic directory
- If buying from a dealership, ask to take the car off-site for an independent inspection
What a thorough PPI should include:
- Full visual inspection of the frame and undercarriage for hidden damage
- OBD-II diagnostic scan to check for stored error codes
- Brake measurement and pad thickness check
- Tire tread depth and condition
- Fluid analysis and leak detection
- Suspension and steering component inspection
- Test drive with the mechanic
What does it cost?
Expect roughly $100 to $150 for a diagnostic and $135 to $200 for a pre-purchase inspection, depending on your market and the shop. That is a small price compared to a $3,000 transmission repair you did not see coming.
Both NerdWallet and Consumer Reports frame checklists as screening tools and recommend paying for a professional inspection for items you cannot see yourself. Your self-inspection is a filter. The PPI is the final confirmation.
Real-world example: A buyer in Texas found a 2018 SUV with a clean Carfax, a fair price, and a solid test drive. The PPI revealed a bent subframe from an unreported collision. The repair estimate was $2,200. The buyer walked away and found a better vehicle the following week. That $150 inspection saved him thousands.
For more guidance on what to look for before you commit, expert check-before-you-buy tips walk through the most commonly missed items in the final stages of a purchase.
Why most buyers cut corners—and what actually protects you
Here is something worth saying directly: most buyers skip steps not because they are careless, but because the process feels overwhelming and the seller is standing right there creating a sense of urgency. That pressure is real, and it works.
The uncomfortable truth is that a clean vehicle history report and a confident seller are not protection. They are starting points. Too many buyers treat a clean Carfax as a green light and skip the mechanic inspection entirely. That is exactly the gap that costly surprises fall through.
What actually protects you is the combination of checks done in the right sequence. The VIN confirms identity. The recall check confirms safety. The history report surfaces documented problems. The self-inspection catches visible issues. The PPI catches everything else. Remove any one of those layers and you have a gap.
We also see buyers overestimate what a seller’s assurances mean. Verbal promises are not binding. Written disclosures are better, but they only cover what the seller knows or admits to knowing. An independent mechanic has no incentive to hide anything from you.
Understanding why vehicle history matters goes beyond just pulling a report. It means treating the report as one piece of a larger puzzle, not the whole picture. The buyers who come out ahead are the ones who spend an extra few hours and $150 to $200 on due diligence before signing. The ones who skip it often spend thousands more after the fact.
Accelerate due diligence with Vektracer
Ready to put this checklist into action? The right tool can make every step faster and more reliable.
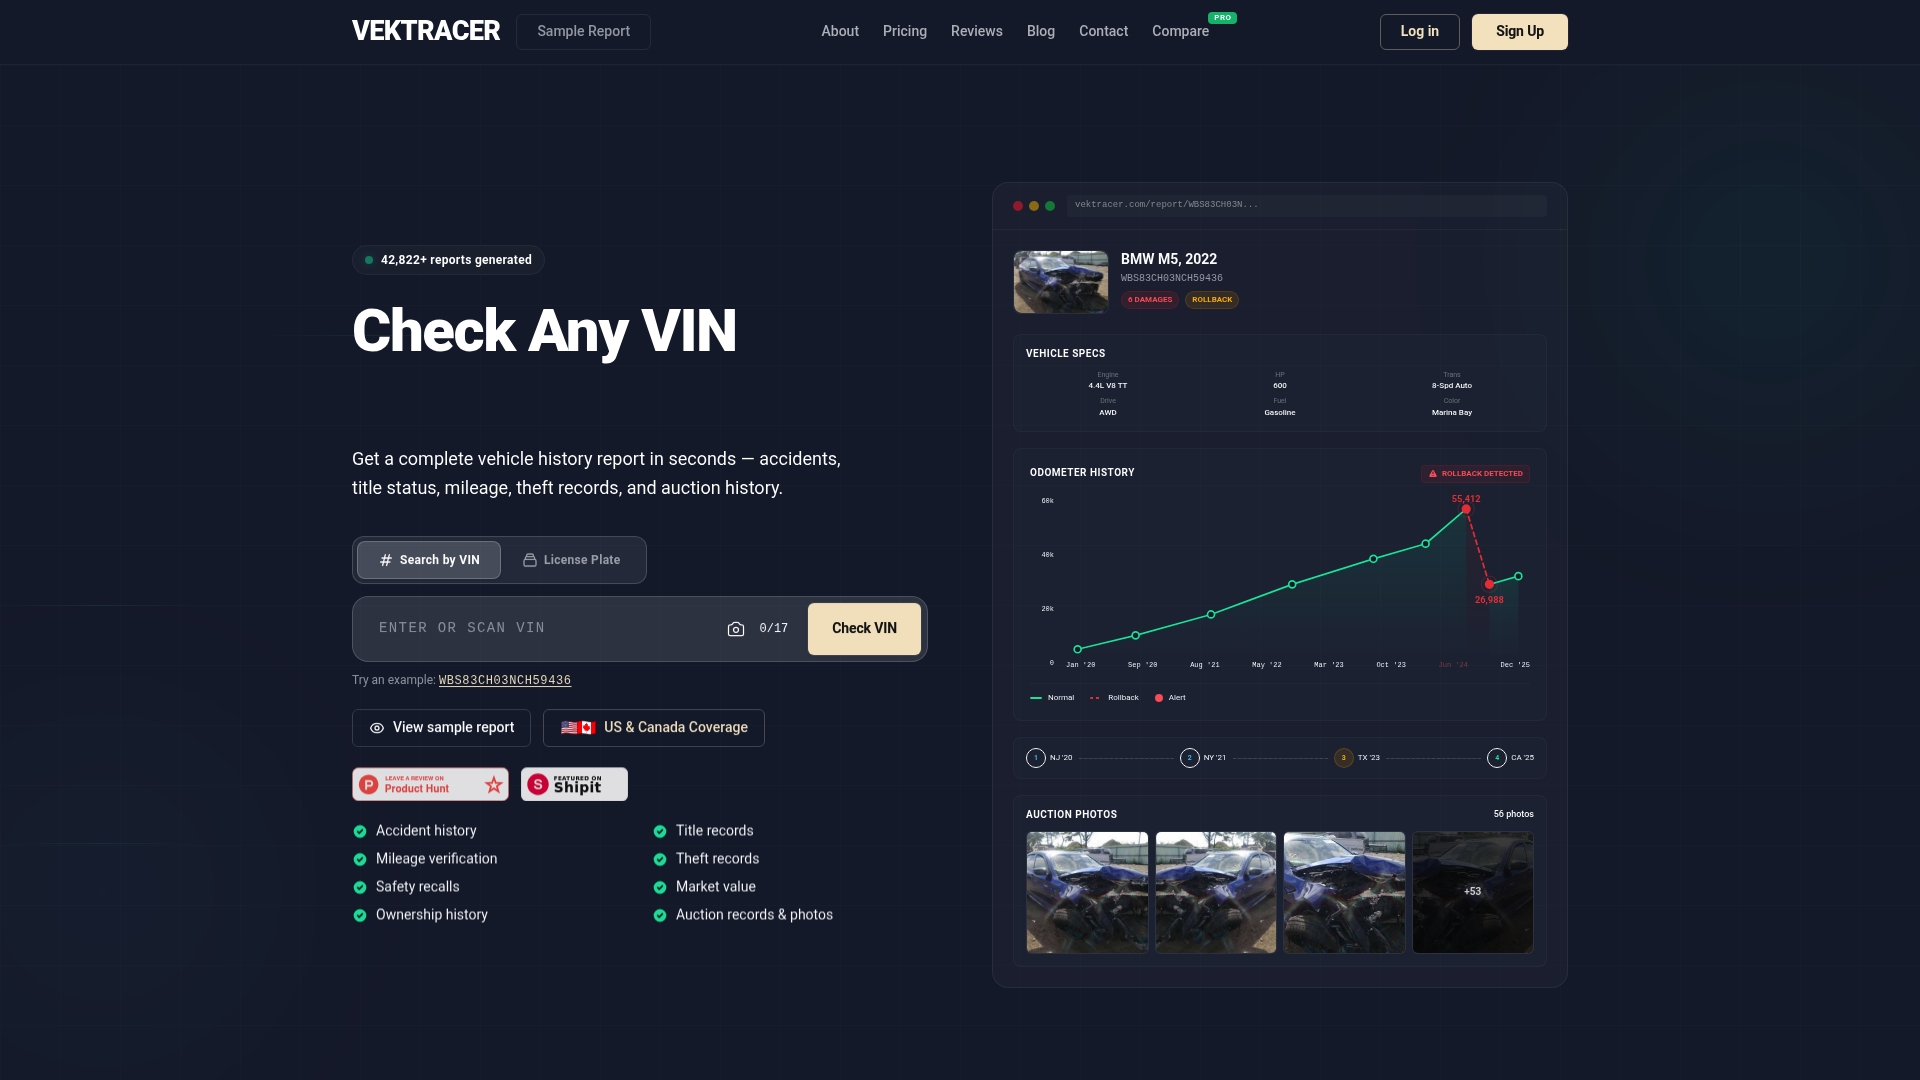
Vektracer gives you instant access to a detailed vehicle history report starting at just $19.99, significantly less than Carfax at $44.99 or AutoCheck at $24.99, while pulling from the same core NMVTIS-connected data sources. You get accident history, title records, mileage verification, theft checks, safety recalls, and market value data in one clean report. Learn how Vektracer works to see exactly what is included, or see a sample report before you buy so you know precisely what you are getting. When you are ready to move forward on a vehicle, Vektracer removes the guesswork and gives you the facts you need to negotiate with confidence.
Frequently asked questions
What is the VIN and why is it important?
The Vehicle Identification Number (VIN) uniquely identifies each car and lets you check title status, accident history, open recalls, and ownership records before you buy.
Does a clean vehicle history report guarantee there are no problems?
No. History reports can miss unreported crashes, so a professional mechanical inspection is still essential even when the report shows no issues.
How much does a pre-purchase mechanic inspection usually cost?
A thorough pre-purchase inspection typically costs $135 to $200, depending on your location and the shop you choose.
Is it legal to sell a used car with an open recall?
Yes. Sellers may legally sell vehicles with unrepaired defects, so always check recall status yourself and require documented repair before completing the purchase.
What steps should I take before paying for a vehicle history report?
Verify the VIN and check for open recalls first, so you avoid spending time or money on a vehicle with fundamental identity or safety issues.
Recommended
Ready to check a vehicle?
Enter any 17-character VIN for a free instant preview — no account needed.