Vehicle inspection checklist for used car buyers 2026
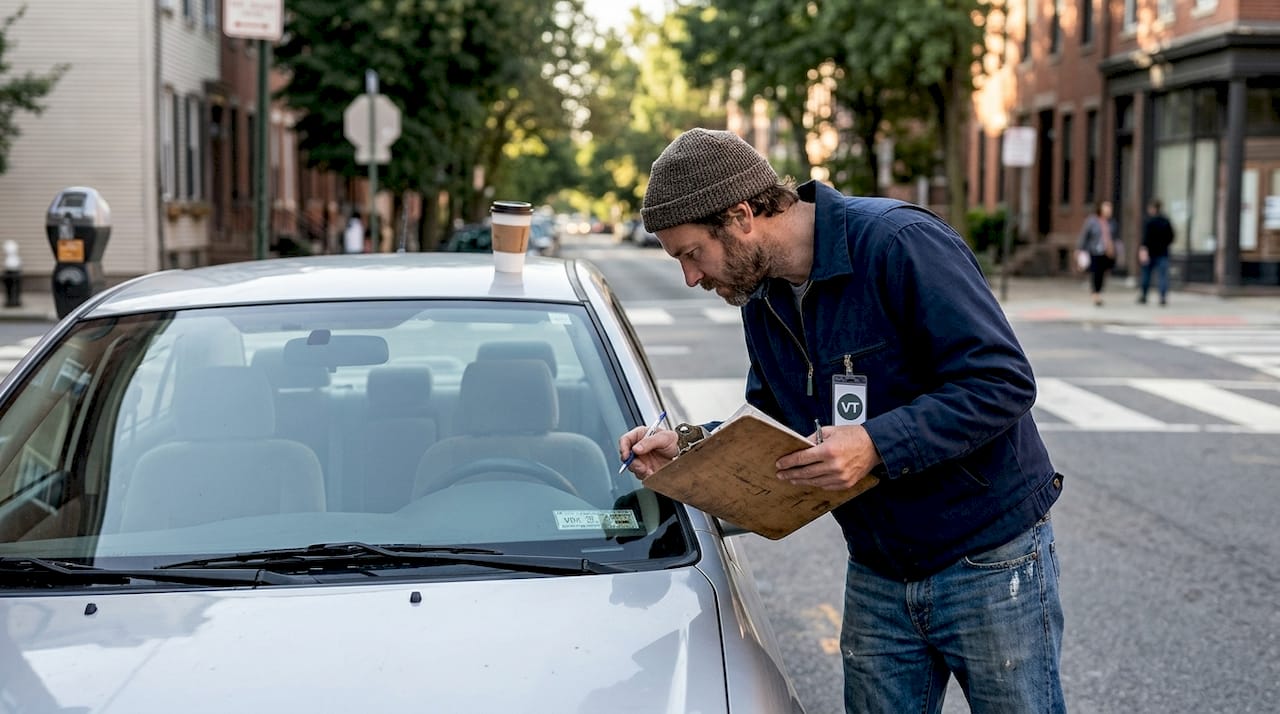
Check a vehicle before you buy
Enter a VIN for a free instant preview — accidents, title brands, mileage, liens & open recalls.
TL;DR:
A vehicle history report reveals accident, title, odometer, theft, and recall information crucial for buying.
Exterior, interior, mechanical, and undercarriage inspections identify hidden damages and potential repair costs.
Using a scoring system transforms findings into negotiation leverage, ensuring informed and confident purchases.
Buying a used car without a structured inspection plan is like signing a contract you haven’t read. Hidden flood damage, rolled-back odometers, and undisclosed accidents cost American buyers billions each year. Whether you’re an independent dealer vetting inventory or a first-time buyer trying to avoid a money pit, a reliable checklist is your best defense. This guide walks you through every critical step, from pulling a vehicle history report to completing the test drive, so you can negotiate with confidence and buy with your eyes wide open.
Table of Contents
Key Takeaways
Point | Details |
|---|---|
Start with history | Always begin your inspection by researching accident, title, and recall history. |
Inspect with detail | Use tools and structured steps to examine exterior, interior, and mechanical components. |
Prioritize test drives | A thorough test drive reveals handling issues and hidden mechanical problems. |
Use scoring for negotiation | Quantify each item with a pass/concern/fail rating to strengthen your bargaining power. |
Professional inspections save money | Hiring an independent mechanic is vital for high-value or accident-prone vehicles. |
Start with vehicle history and documentation
Before you touch the car, you need to know its past. A vehicle’s history report is the single most important document in any used car transaction. It tells you whether the car has been in a serious accident, whether the title is clean or salvage, whether the odometer has been tampered with, and whether any open safety recalls exist. Skipping this step is one of the most expensive mistakes buyers make.
You have several options for obtaining a report. Carfax is the most recognized name, but it costs $44.99 per report. AutoCheck runs $24.99. Both pull from NMVTIS-connected (National Motor Vehicle Title Information System) databases, which aggregate data from state DMVs, insurance companies, and salvage yards. A vehicle history check from Vektracer starts at $19.99 and covers the same core data points, making it a practical choice for buyers and dealers running multiple checks.
Here’s what to look for in any report:
Accident history: Were there minor fender-benders or major structural collisions?
Title status: Is it clean, salvage, rebuilt, or flood-branded?
Odometer readings: Do the recorded mileage figures match logically over time?
Theft records: Has the vehicle ever been reported stolen?
Open recalls: Are there unresolved safety issues from the manufacturer?
For recalls specifically, cross-reference the report with the NHTSA (National Highway Traffic Safety Administration) database using the VIN (vehicle identification number). A vehicle recall checklist can help you track which recalls have been addressed and which are still pending.
If you’re buying from a dealer, the FTC Buyers Guide sticker must be displayed on the vehicle. It states whether the car is sold “as is” (no warranty) or with a dealer warranty. Read it carefully before signing anything.
Pro Tip: Save your history report as a PDF and bring it to the inspection. Specific findings, like a prior accident or a mileage gap, become direct negotiation points that can lower the asking price.
With a clear picture of the vehicle’s background, you’re ready to examine it in person.
Exterior and interior checks: What to look for
Once the vehicle’s history and documentation are checked, these hands-on inspections reveal its current condition. Bring a flashlight, a small magnet, and a tire tread gauge or a penny. Inspect the car in daylight on dry pavement, and make sure the engine is cold before you start. These conditions matter because they affect what you can see and feel.
Exterior inspection checklist:
Body panels: Look for uneven gaps between panels, which can signal past collision repairs.
Paint consistency: Walk around the car and look for color mismatches or overspray on rubber trim. A DIY inspection guide can help you spot these quickly.
Rust: Check the wheel wells, door edges, and underside of the rocker panels.
Glass: Look for chips, cracks, or stress lines in the windshield.
Lights: Test all headlights, taillights, turn signals, and brake lights.
Tires: Use the penny test (insert Lincoln’s head into the tread groove; if you can see the top of his head, the tread is below 2/32 inch and needs replacement) or a tread gauge for precision.
Magnet test: Run a magnet along body panels. If it doesn’t stick, there may be body filler covering prior damage.
According to DIY inspection resources, using a flashlight, magnet, and tread gauge during a daylight inspection on dry pavement with a cold engine gives you the most accurate read on a vehicle’s true condition.
Interior inspection checklist:
Upholstery and carpets: Look for stains, mold smell, or water marks that could indicate flood damage.
All controls: Test the AC, heat, windows, mirrors, and infotainment system.
Dashboard warning lights: Start the car and confirm all warning lights illuminate briefly, then go off. Any that stay on need investigation.
Seat belts: Pull each belt fully and confirm the retractor snaps it back smoothly.
Use an OBD-II scanner (a small plug-in device that reads diagnostic trouble codes) to check for stored engine or transmission codes. You can buy one for under $30 or borrow one from many auto parts stores.
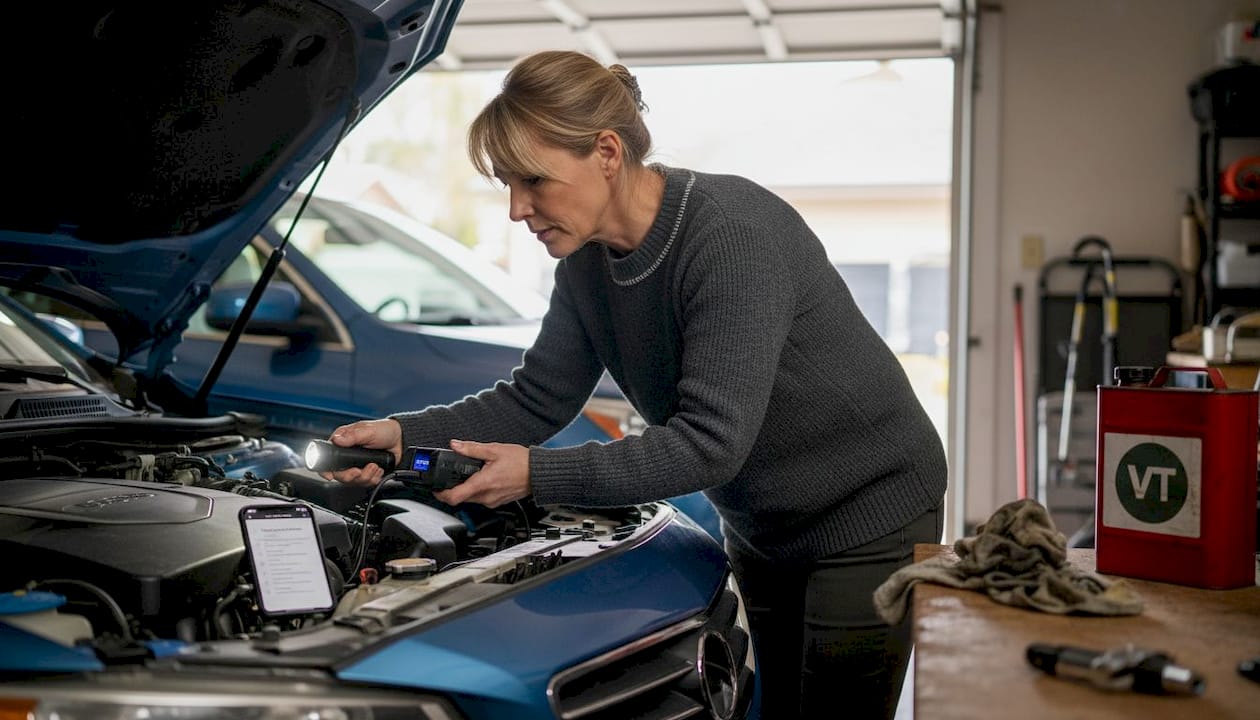
Inspection area | Tool needed | Red flag |
|---|---|---|
Body panels | Magnet | No magnetic pull = body filler |
Tire tread | Penny or gauge | Tread below 4/32 inch |
Warning lights | OBD-II scanner | Stored fault codes |
Paint | Flashlight | Mismatched color or overspray |
Use an inspection scoring system to rate each item as pass, concern, or fail. This turns your checklist into a negotiation tool.
Pro Tip: Score every single item before you talk price. A list of “concerns” is worth real dollars off the asking price.
Mechanical and undercarriage inspection essentials
After finishing surface and interior checks, mechanical issues are next, and they often require deeper expertise to catch. This is where many buyers stop short, and where the biggest financial surprises hide.
Start with the engine bay. Look for these specific signs:
Oil condition: Pull the dipstick. Amber or light brown oil is healthy. Black oil means it’s overdue for a change. Milky or foamy oil is a serious warning sign of a coolant leak or head gasket failure.
Coolant color: Should be green, orange, or pink depending on the type. Brown or rusty coolant signals neglect or internal corrosion.
Belts and hoses: Look for cracks, fraying, or soft spots.
Battery terminals: Check for corrosion (white or blue buildup around the terminals).
Fluid leaks: Look at the ground under the car after it’s been parked. Fresh spots of oil, coolant, or transmission fluid are red flags.
For the undercarriage, you need the car lifted. Check for:
Frame damage: Look for bent, cracked, or welded frame rails.
Rust depth: Surface rust on older cars is normal. Deep rust that flakes off in chunks is a structural concern.
Exhaust system: Look for holes, patches, or excessive corrosion.
Suspension components: Check for worn bushings, cracked CV boots (rubber boots that protect the axle joints), or leaking shocks.
For high-value vehicles or any car with a documented accident history, a professional inspection from an independent mechanic (not the seller’s shop) is strongly recommended. According to pre-purchase inspection data, a professional pre-purchase inspection (PPI) typically costs $100 to $250 and includes a full lift inspection and diagnostic scan. For any vehicle priced over $10,000, that investment can prevent thousands in surprise repair bills.
A mechanical test guide recommends never skipping the undercarriage check, especially for vehicles in northern states where road salt accelerates rust damage.
Pro Tip: A one-hour professional inspection combined with a vehicle history report gives you the most complete picture of what you’re actually buying. Think of it as due diligence, not an optional add-on.
Test drive: The final on-road assessment
With mechanical and body checks complete, the test drive reveals how the vehicle performs in real-world settings. Plan for at least 20 to 30 minutes and cover a mix of road types: city streets, highway speeds, and at least one parking lot maneuver.
Here’s what to assess during the drive:
Cold start: Does the engine start smoothly without excessive cranking or unusual smoke from the exhaust?
Acceleration: Does the car pick up speed evenly without hesitation or jerking?
Straight-line tracking: On a flat, straight road, briefly release the wheel. The car should hold its line without pulling left or right.
Braking: Apply brakes firmly at moderate speed. There should be no pulling, grinding, or pulsing through the pedal.
Transmission shifts: Automatic transmissions should shift smoothly and without delay. Manual transmissions should engage cleanly without slipping or grinding.
Vibrations: At highway speeds above 60 mph, there should be no steering wheel vibration or shaking through the seat.
Noises: Listen for clunks over bumps, squealing during turns, or rattles at idle.
Turning: Tight turns should produce no clicking or popping sounds, which can indicate worn CV joints.
According to test drive guidelines, a 20 to 30 minute drive covering highway speeds, hard stops, and sharp turns is the minimum needed to surface hidden mechanical issues.
After the drive, park on a clean surface and wait a few minutes. Then check underneath for fresh fluid drips. Even a small puddle can reveal a coolant, oil, or transmission fluid leak that wasn’t visible during the static inspection.
“Even a basic test drive can reveal hidden money pits that no visual inspection would catch.” — AAA
Assessment area | DIY test drive | Professional assessment |
|---|---|---|
Straight tracking | Release wheel briefly | Alignment machine measurement |
Brake feel | Pedal firmness and pull | Pad thickness measurement |
Transmission | Shift smoothness | Fluid analysis and scan |
Vibrations | Feel through seat/wheel | Wheel balance and bearing check |
Use a test drive checklist to document findings in real time, and review test drive tips before you go to make sure nothing gets missed.
A smarter inspection checklist: Going beyond basics
Most inspection guides hand you a list and call it done. What they miss is the step that actually moves money: turning your findings into a scored, documented case for negotiation.
Here’s the uncomfortable truth. Most buyers walk through a car, notice a few things, and then either walk away or accept the asking price. Neither is optimal. A scoring system that rates each item as pass, concern, or fail gives you a quantified picture of the vehicle’s condition. Tread depth below 4/32 inch? That’s a fail, and a tire replacement estimate is a concrete number to negotiate with. Oil that’s black instead of amber? That’s a concern with a dollar value attached.
For low-value vehicles under $8,000, a thorough DIY inspection combined with a history report is usually sufficient. For anything above $10,000 or with any accident history in the report, a professional PPI is not optional in our view. The $150 you spend on a mechanic could save you $3,000 in hidden repairs.
One more thing most guides overlook: recall status is not just a checkbox. An open recall on safety-critical systems like brakes or steering means the manufacturer will fix it for free. Knowing this before you buy, using a car history search or the NHTSA database, gives you leverage and peace of mind. Check NMVTIS car history reports to understand exactly what data sources back the report you’re reading.
Turn inspections into actionable reports with VekTracer
A thorough inspection is only as useful as the records you keep. When you’re ready to put your checklist findings to work, Vektracer makes it easy to pull the background data that supports every item on your list.
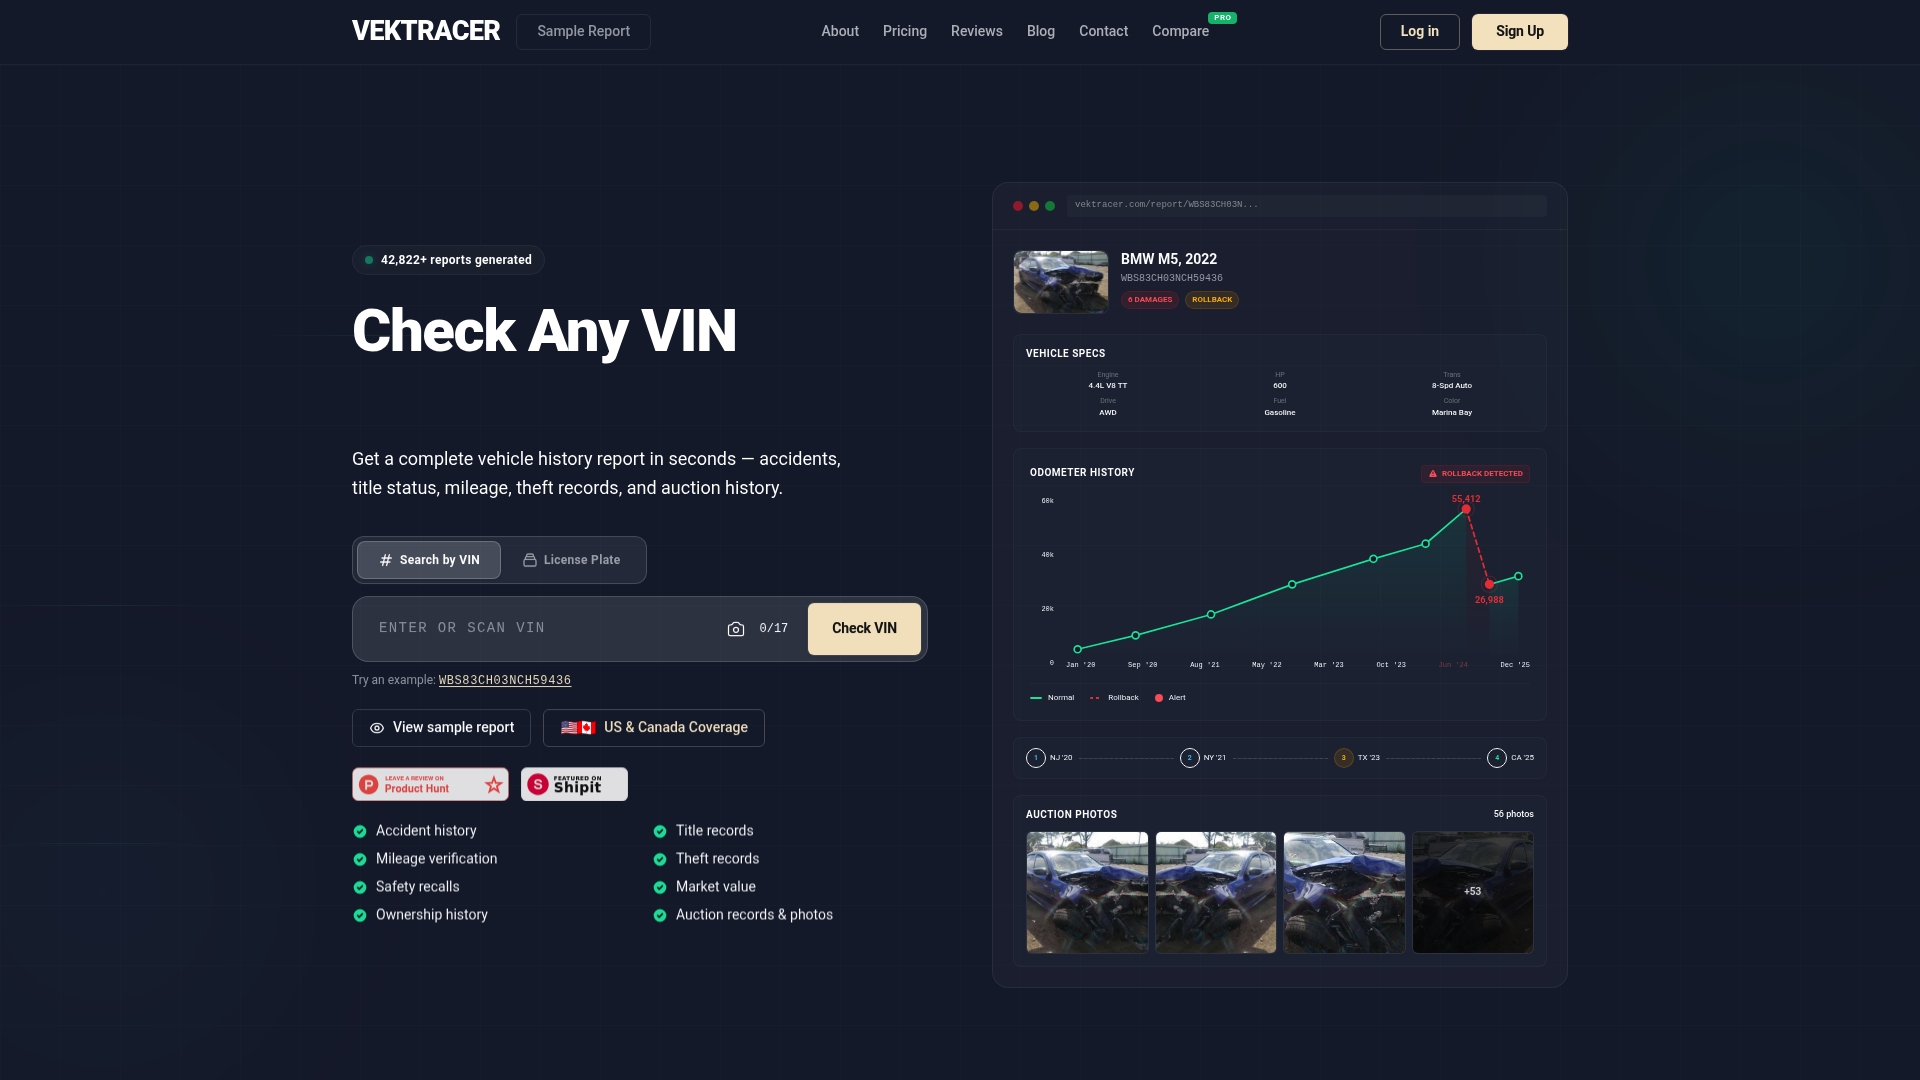
With a Vektracer report starting at $19.99, you get accident history, title records, mileage verification, theft checks, open recalls, and market value data in one place. That’s the same core data as Carfax at less than half the price. See how VekTracer works, review a sample inspection report to know what you’ll receive, and check the pricing options before your next purchase. Whether you’re a buyer doing due diligence or a dealer building trust with customers, a documented history report paired with your inspection notes is the strongest position you can be in.
Frequently asked questions
What tools do I need for a DIY vehicle inspection?
You’ll need a flashlight, a small magnet, a tire tread gauge or penny, and an OBD-II scanner. These basic tools cover body filler detection, tread depth, and stored engine fault codes.
How much does a professional pre-purchase inspection cost?
A professional inspection typically costs $100 to $250 and is strongly recommended for any vehicle priced over $10,000 or with documented accident history.
Should I rely only on visual checks when buying a used car?
No. Visual checks miss title fraud, odometer rollbacks, and open recalls entirely. The FTC advises reviewing the Buyers Guide sticker and running a history check before any purchase.
What should I look for during a test drive?
Focus on straight tracking, smooth gear shifts, no vibrations above 60 mph, and clean braking. After the drive, check underneath for any fresh fluid leaks.
Is a scoring system necessary for vehicle inspections?
Yes. A pass/concern/fail rating for each inspection item gives you clear, documented leverage when negotiating price and helps prioritize future maintenance needs.
Recommended
Ready to check a vehicle?
Enter any 17-character VIN for a free instant preview — no account needed.