How to Use Wet Sandpaper for Headlights: 2026 Guide
Check a vehicle before you buy
Enter a VIN for a free instant preview — accidents, title brands, mileage, liens & open recalls.
Wet sandpaper is one of the most effective ways to restore oxidized headlights, and the process works best when you sand progressively through grits like 800, 1500, 2000, and 3000 and then finish with a UV protective coating. If you skip that final sealant, the lens can turn cloudy again within 2 to 3 months.
If you're staring at yellow, dull headlights right now, that frustration is justified. They make the car look tired, they cut clarity at night, and they fool a lot of DIYers into thinking a quick polish is enough. It isn't.
The part often missed is simple. Sanding fixes the surface. Polishing restores clarity. Sealing is what makes the repair last.
Restore Your Cloudy Headlights for Good
Cloudy headlights usually push people toward two bad options. They either keep scrubbing with polish that won't cut through oxidation, or they sand the lens once, polish it, and call the job finished. That second approach is why so many DIY restorations look great for a short while and then fail.
Most guides stop too early. The bigger issue isn't the sanding itself. It's that sanding removes the compromised outer layer, and if you don't protect the fresh plastic afterward, UV exposure starts attacking it again almost immediately. As noted in this discussion on failed restorations and UV topcoats, many guides omit the re-coat step even though unprotected headlights can cloud back up within 2 to 3 months.
What actually works
A lasting result comes from treating headlight restoration as a full system:
- Remove oxidation properly: Use wet sanding, not dry sanding and not polish alone.
- Refine the surface: Step through finer grits so the scratches become shallow enough to polish out.
- Polish for clarity: The lens should look uniformly clear, not just less yellow.
- Seal for durability: A UV-resistant topcoat is the difference between a real repair and a temporary cosmetic fix.
Practical rule: If a headlight restoration guide ends at “buff until clear,” it's incomplete.
That's also why climate matters after the repair. If your car sits outside every day, protection matters even more. For local upkeep habits after restoration, this guide to maintaining clear headlights in Perth is a useful reference because it connects restoration quality with ongoing exposure and care.
If you're checking an older used vehicle and the headlights look rough, don't treat that as an isolated cosmetic issue. It often sits alongside neglected maintenance. A broader vehicle inspection report checklist helps put headlight condition in context with the rest of the car.
Your Headlight Restoration Toolkit and Setup
Good results are decided before the first sanding pass. I see DIY jobs fail here all the time. The lens is dirty, the paper is too coarse for the condition, the paint around the headlight is barely protected, and the person doing the work has no UV coating ready once the lens is finally clear.
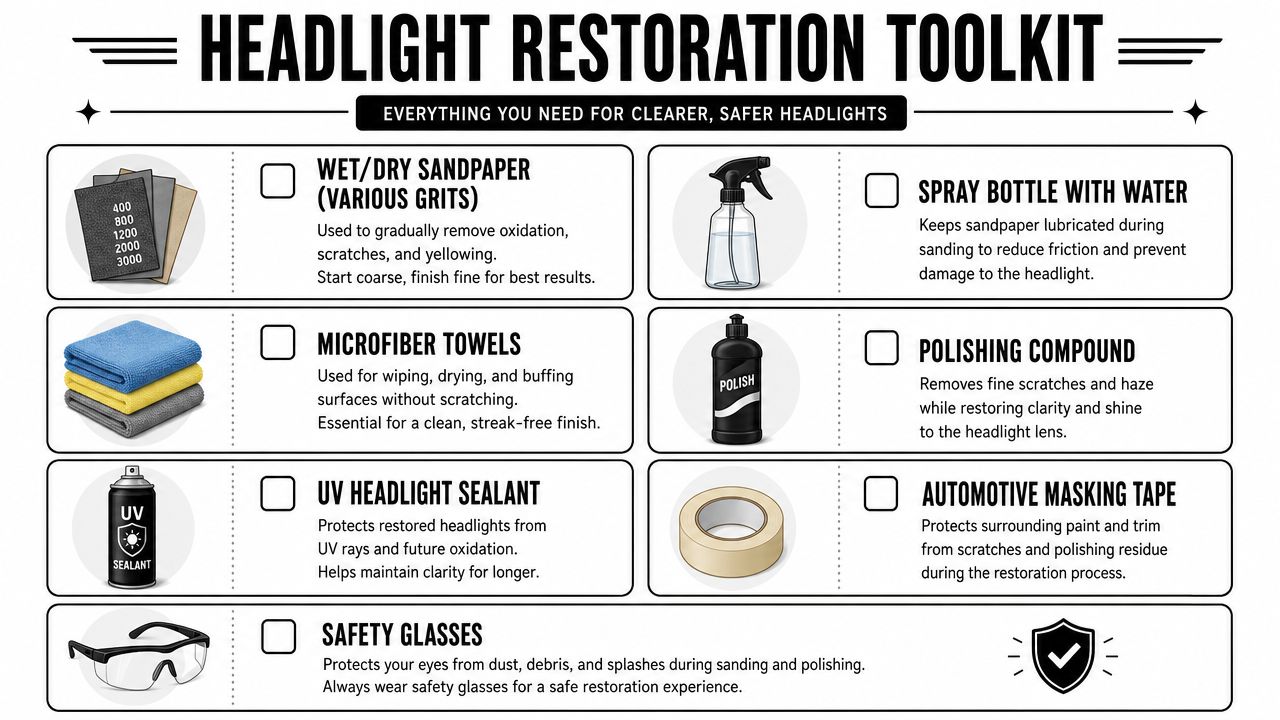
The core kit
Set everything out before you start so you are not hunting for supplies with a half-sanded lens drying in front of you.
- Wet/dry sandpaper: Keep a full grit range on hand. The right starting point depends on how much oxidation or failed factory coating is on the lens.
- Spray bottle with warm water and car wash soap: You need steady lubrication to keep the paper cutting evenly and to carry slurry away from the surface.
- Automotive masking tape: Tape the paint, trim, bumper edge, and any nearby piano-black plastic. Headlight jobs get messy fast.
- Microfiber towels: Use different towels for cleaning, wiping sanding slurry, and final wipe-downs. Reusing one towel across every step is a good way to drag grit back onto the lens.
- Clay bar or synthetic clay mitt: Use this if the lens feels rough after washing. Bonded contamination can put random scratches into the surface while you sand.
- Polishing compound: This clears the fine haze left after the last sanding step.
- UV headlight sealant or coating: Have this in hand before sanding starts. This is the step many guides gloss over, and it is the reason so many headlights look good for a week, then fade back months later.
- Safety glasses and gloves: Wet sanding throws residue around, and polishing compound is not something you want in your eyes.
Prep steps that prevent rework
Wash the lens and the surrounding panel first. Dry it, then inspect it in good light. Run a clean hand across the surface. If it still feels gritty, decontaminate it before sanding.
That extra prep time saves a lot of frustration. Dirt and bonded debris can get trapped under the paper and leave scratches that do not match the grit you are using. Those marks are harder to track down later because they look like a sanding mistake when the problem was contamination.
Mask wider than you think you need to. Two or three layers of tape around the headlight is cheap insurance, especially near edges and body lines where sandpaper and polish tend to wander.
A clean lens, proper masking, fresh paper, and UV coating ready to apply. That setup prevents the mistakes that make a restoration look temporary.
Setup checklist before sanding
| Item | Why it matters |
|---|---|
| Clean headlight | Keeps dirt from acting like extra abrasive |
| Clay bar | Removes bonded debris that can leave stray scratches |
| Masking tape | Protects paint and trim from accidental sanding and polish contact |
| Warm water plus car wash soap | Helps the paper glide and flush away residue |
| Separate towels | Reduces grit transfer between stages |
| UV coating ready | Keeps the job from stopping at polishing, which is where short-lived restorations usually fail |
If you are looking over a used car and the headlights are heavily oxidized, check whether that neglect shows up elsewhere too. A glowing dash reminder often points in the same direction. This guide on what the maintenance required light means helps put those signs in context.
Mastering the Sanding Process from Coarse to Fine
The sanding stage decides whether the lens clears up cleanly or stays patchy after polish. If the scratch pattern is uneven here, polish will only make that mistake shinier. This is also where rushed DIY jobs go off track. People stop once the lens looks better, then wonder why the result never gets fully clear or fails early after sealing.
Pick the right starting grit
Start by reading the lens, not by copying a grit chart.
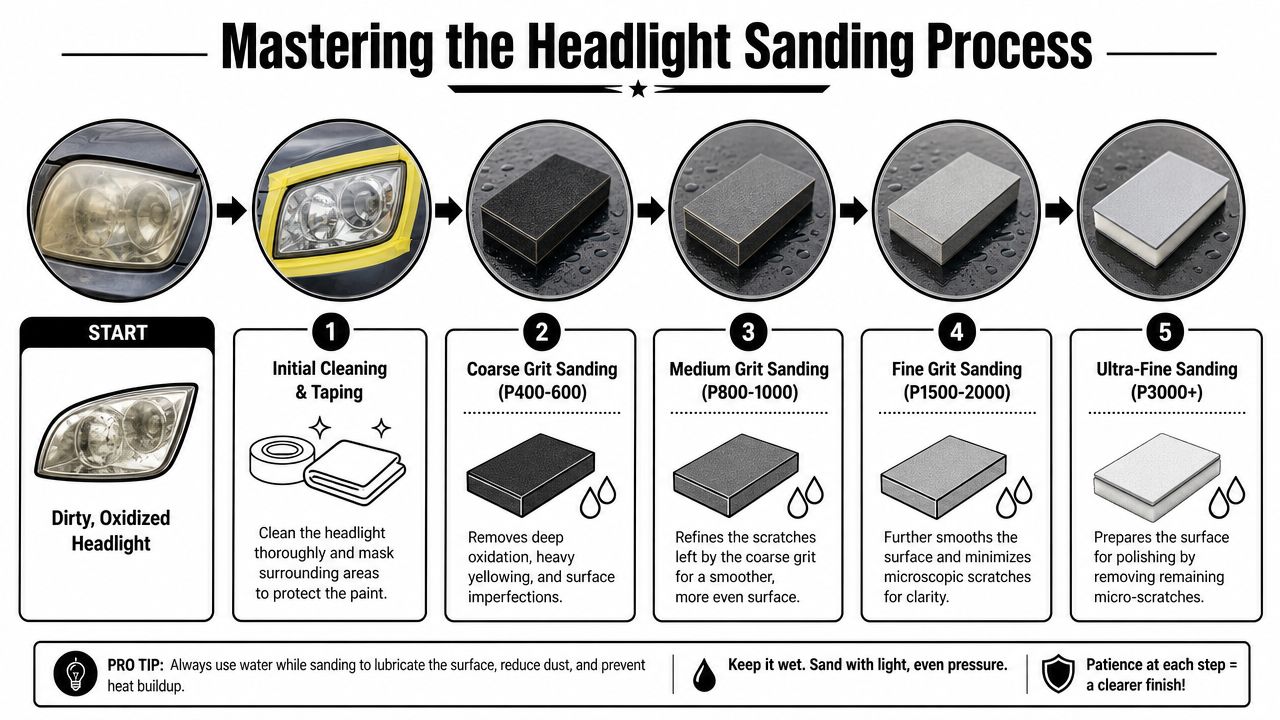
A headlight with light oxidation and no peeling factory coating can often start at 800 grit and move through 1500, 2000, and 3000. A heavily failed lens, especially one with hard clearcoat breakdown, may need a more aggressive first cut. Dr. Beasley's notes in this headlight hand-sanding guide that some OEM clearcoated headlights need 320 to 600 grit to strip the damaged layer before refinement begins.
That choice matters. Start too fine and you waste time skating over dead coating. Start too coarse on a lens that does not need it and you create deeper scratches that take longer to refine.
A good rule is simple. Use the least aggressive grit that will remove the oxidation or failed coating in a reasonable amount of time.
For many neglected daily drivers, a common progression is 800, 1500, 2000, 3000. A useful tip from this wet sanding walkthrough from r/Detailing is to spend longer on each refining step than you did on the initial cut so the previous grit marks are fully removed.
Use a sanding pattern that shows your progress
Sand in straight, overlapping passes. Circles hide your scratch pattern and make it harder to see whether the previous grit is gone.
Work one grit in one direction, then rotate your pattern with the next grit. Horizontal first. Vertical next. That crosshatch approach makes leftover scratches easy to spot because the old pattern stands out until you remove it.
Pressure should stay even, especially near the edges. Edges cut faster than the center, and that is where many first-time restorations go wrong. If you bear down with your fingertips, you can create low spots, thin the plastic unevenly, or leave a halo near the perimeter that still shows after polishing.
If the lens still has glossy islands, yellow patches, or a few random deep lines, keep sanding with the current grit. Do not jump ahead and hope polish fixes it.
As noted earlier, one proven method is to run each grit perpendicular to the previous one and give the finer stages more time than the first coarse pass. That is how you get a uniform haze instead of a mottled lens.
Keep the paper wet and clean
Water does more than keep the surface slippery. It carries away spent abrasive, old coating, and plastic residue so the paper keeps cutting evenly.
When the paper loads up, it starts dragging debris across the lens. That leaves scratches that look out of place for the grit you are using. This video explanation of why lubrication is mandatory shows the problem well.
Use a spray bottle and re-wet often. Re-wet the lens. Re-wet the paper. If the slurry turns thick or the paper feels grabby, stop and flush everything before you continue.
Fresh paper cuts faster too. If one sheet stops biting, replace it. Trying to stretch worn paper usually costs more time than it saves.
Match the progression to the lens condition
Use the lens condition to choose your path:
- Light haze: Start finer and check your work often.
- Heavy yellowing: Start with a grit that can cut oxidation, then refine step by step.
- Peeling OEM coating: Expect a stronger first cut before the lens evens out.
- Final sanding stage: Finish in the ultra-fine range before polish. A long-running forum thread on finish quality notes in this MK5 Golf GTI discussion that restorations come out clearer when sanding is refined to at least 2,500 grit before polishing.
The logic is the same on other surfaces. You remove the damage first, then tighten the scratch pattern until polish can clear it fast. If you have ever corrected gelcoat or fiberglass, the same progression used to restore boat hull shine will feel familiar.
Done right, the lens should look evenly dull from edge to edge when sanding is finished. That dull, uniform surface is what gives polish a fair shot. It also sets up the sealing step that keeps the restoration from fading back out a few months later.
From Hazy to Crystal Clear The Polishing and Sealing Steps
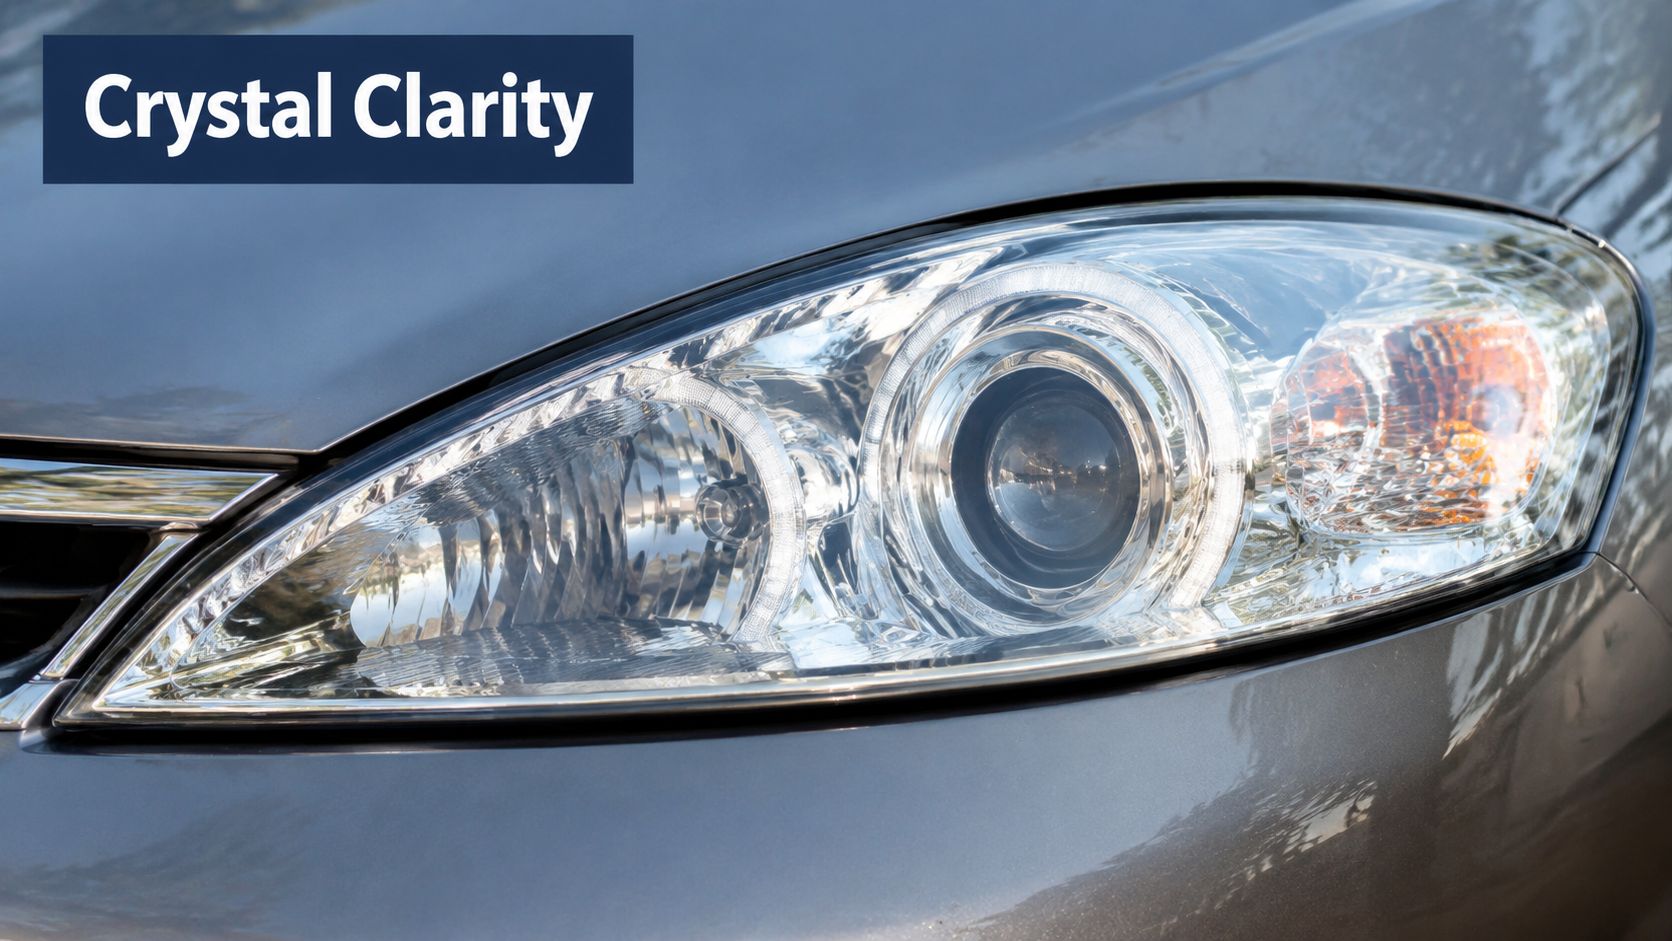
After sanding, the lens should look evenly dull. That haze is normal. In fact, it's what you want. A uniform haze tells you the oxidation is gone and the remaining marks are small enough to polish.
Polishing removes the sanding haze
Use a proper polishing compound for plastic lenses. You can work it by hand, but machine polishing usually gives a faster and more even result. Hand polishing is slower and more forgiving. A machine cuts faster but demands control around edges and trim.
What matters most is your endpoint. You're not trying to hide scratches with oils or fillers. You're trying to remove the fine marks left by the last sanding step until the lens turns transparent again.
A good polishing session should leave:
- Clear lens definition
- No visible linear sanding marks
- No patchy cloudy zones
- No residue packed into seams
Sealing is what makes the result last
This is the step that separates a proper restoration from a short-lived improvement. Failure to re-coat the lens with a dedicated UV sealant is the main reason restorations fail, and this headlight restoration video breakdown notes that uncoated lenses can revert to a cloudy state within 2 to 3 months due to rapid UV-driven re-oxidation.
Use a product designed for plastic headlight protection, such as a dedicated UV sealant or ceramic coating made for lenses. Apply it carefully and evenly. Don't rush the wipe pattern, and don't handle the lens immediately after.
The same source also notes two practical timing points after coating application:
- Allow the coating to cure for 30 to 60 minutes before returning the vehicle to service
- Avoid washing the vehicle for 7 days after application
Polishing makes the headlight look right. Sealing keeps it from sliding backward.
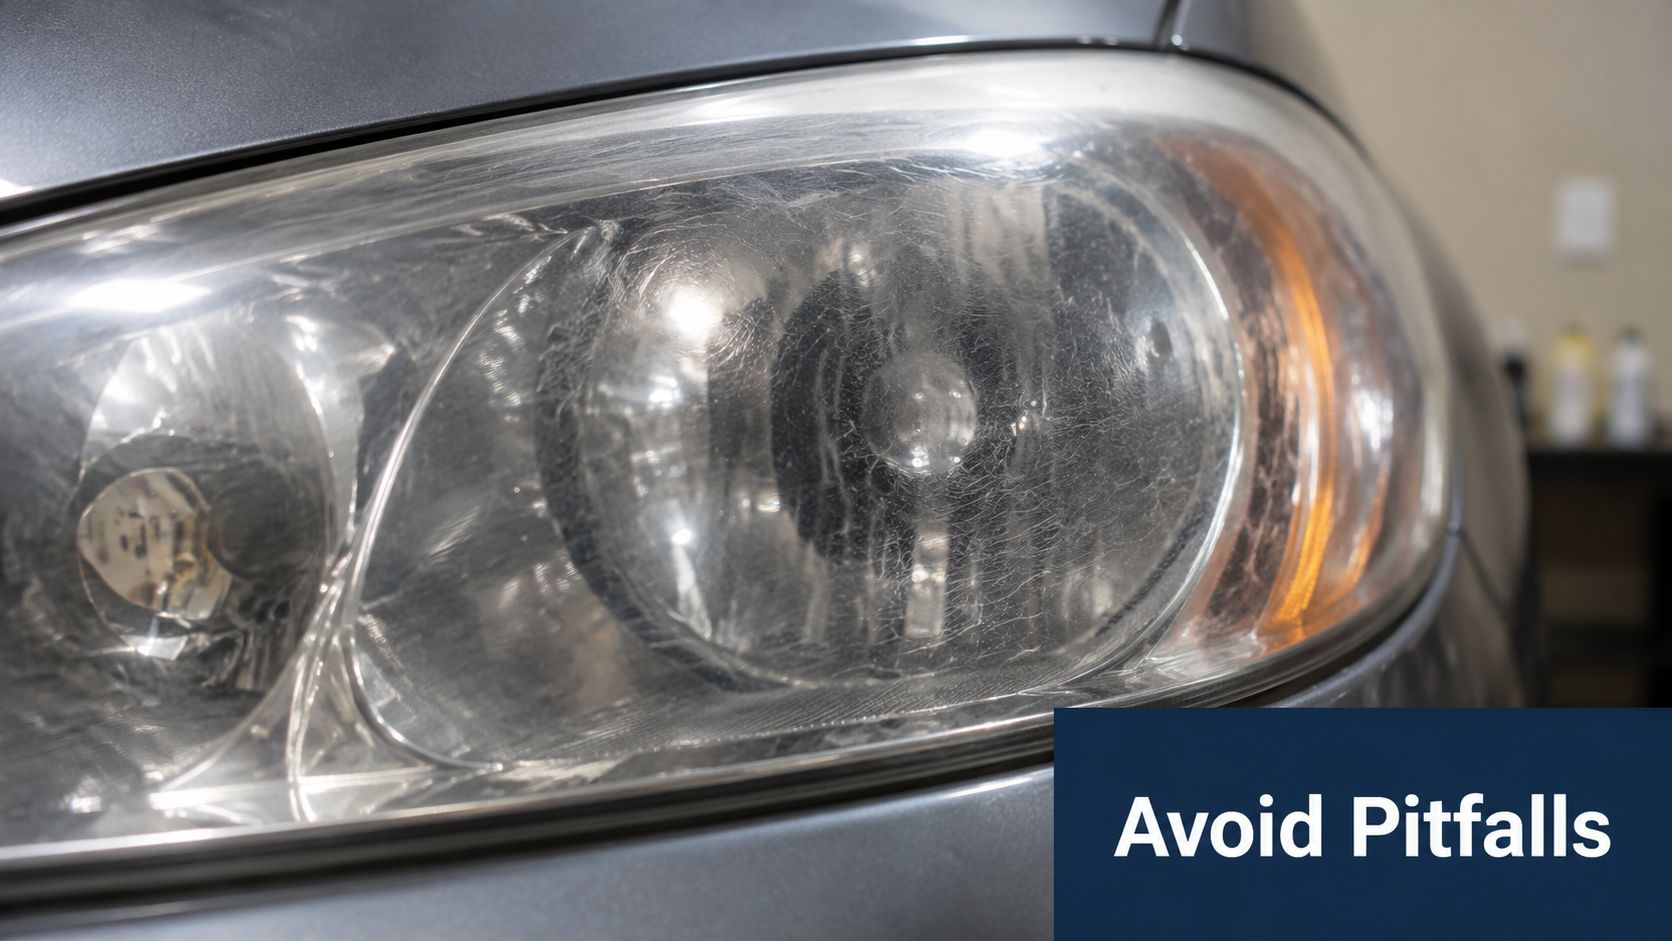
Avoiding Common Headlight Restoration Pitfalls
Most failed DIY jobs don't fail because the person used sandpaper. They fail because the process was incomplete, rushed, or mismatched to the damage.
Mistake diagnosis chart
| Symptom | Likely cause | Fix |
|---|---|---|
| Deep scratches remain after polishing | You moved up in grit too soon | Drop back one grit and fully refine |
| Random curved marks or pigtails | Dirt or debris got trapped during sanding | Clean the lens and paper, then re-sand evenly |
| Lens still looks yellow after time spent sanding | Starting grit was too fine for the damage | Restart with a heavier grit that can actually cut oxidation |
| Lens looked good, then clouded again | No UV re-coat was applied | Re-restore and seal it properly |
| Uneven clarity across the lens | Inconsistent pressure or incomplete coverage | Re-sand with straight overlapping passes |
The biggest waste of time
Trying to fix heavily yellowed headlights with only ultra-fine paper is one of the most common mistakes. As discussed in this Bob Is The Oil Guy forum thread on headlight restoration, using only 3000-grit to restore yellow headlights can take 7 to 10 months per headlight, because it leaves very fine scratches and doesn't remove oxidation efficiently. A heavier grit such as 800 or 1000 is needed to cut the damaged layer.
That's why “go gentle” can become bad advice. Fine paper is safer only if the lens responds to it.
Three habits that prevent rework
- Inspect between every grit: Wipe the lens clean and look for leftover scratch patterns before moving on.
- Keep the paper flushed: A loaded sheet cuts worse and scratches more.
- Treat edges carefully: Raised corners and tight contours lose material faster than flat sections.
A lot of frustration comes from trying to polish out defects that should've been removed during sanding. Polish is a refining step, not a rescue step.
Headlight Restoration FAQ
Is wet sanding better than polish-only methods for cloudy headlights
Yes, when the lens is oxidized. Polish-only methods can help with minor haze, but they usually won't remove the damaged outer layer the way wet sandpaper for headlights can. If the lens is yellow, rough, or visibly degraded, sanding is the more reliable correction method.
Do drill kits work or should you sand by hand
Both can work. Hand sanding gives you more control, especially near edges and body lines. Drill-based or machine-assisted kits can speed up the work, but they also make it easier to overdo pressure or create uneven cutting if you're careless. The result depends more on grit progression, cleanliness, and sealing than on whether you used your hand or a tool.
When should you stop restoring and replace the headlight
Replace the assembly if the lens is cracked, the housing has internal moisture, or the damage isn't limited to the outer surface. External oxidation is restorable. Structural damage and internal problems usually aren't worth pretending away with abrasives.
How do you know whether a used car's headlights are just old or a warning sign
Headlight condition by itself doesn't prove anything, but it can point to how the car was treated overall. Oxidized lights, neglected trim, and unresolved cosmetic damage often show up together. If you're shopping for a used vehicle, this what to check when buying a car guide is a good companion because it helps you connect visible wear with bigger inspection priorities.
Is a vehicle history report relevant if the headlights are damaged
Sometimes, yes. A faded lens is normal aging. But mismatched headlights, moisture in one housing, or obvious replacement on one side can hint at previous front-end work. In that situation, a vehicle history report, a VIN check in Canada, or a VIN check in the USA can help you verify whether the car has accident or damage history. If you're weighing report options, this Carfax comparison page is a practical place to compare how different platforms handle used-car research.
If you're evaluating a used car and small details like cloudy headlights are making you question the bigger story, VekTracer can help you check the vehicle beyond surface condition. It gives buyers a fast way to review accident history, title records, mileage flags, recalls, theft records, and compare vehicles side by side before making a decision.
Ready to check a vehicle?
Enter any 17-character VIN for a free instant preview — no account needed.